Spawning dedicated servers on Armada
Armada is deprecated, replaced by AccelByte Multiplayer Servers (AMS), our next-generation dedicated server orchestration product. AGS Premium customers can ask your AccelByte account team about enabling AMS for your environments.
Armada is not available on AGS Starter tier, use AMS instead.
Overview
To make sure your dedicated server fleets function properly, it is essential for Armada to be configured with how many dedicated servers you want to maintain in a region, and how to run those dedicated servers efficiently.
This guide covers how to configure Armada so that it has all the details required to manage dedicated server fleets for you.
Goals
After you complete this guide, you should have an understanding of the following:
- How to create pod configurations.
- How to create deployments.
- How dedicated servers spawn successfully, according to your deployment configurations.
Prerequisites
You should have completed the following:
- Integrated a dedicated server with the AGS server SDK.
- Created a dedicated server that is able to register with Armada after it finishes loading game assets.
- Have access to the AGS Admin Portal and the namespace for your game.
- Uploaded a dedicated server to Armada.
- Finished configuring your Armada environment.
Set up a pod configuration
Armada can start up your dedicated game servers whenever there is demand. However, before Armada can do this efficiently, it needs to have all the necessary data on how best to run your dedicated game servers. This involves creating a pod configuration.
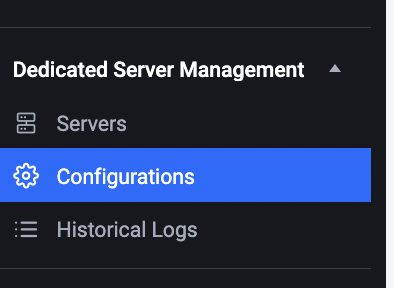
Click the Configuration button that is located under Dedicated Server Management on the side menu bar.
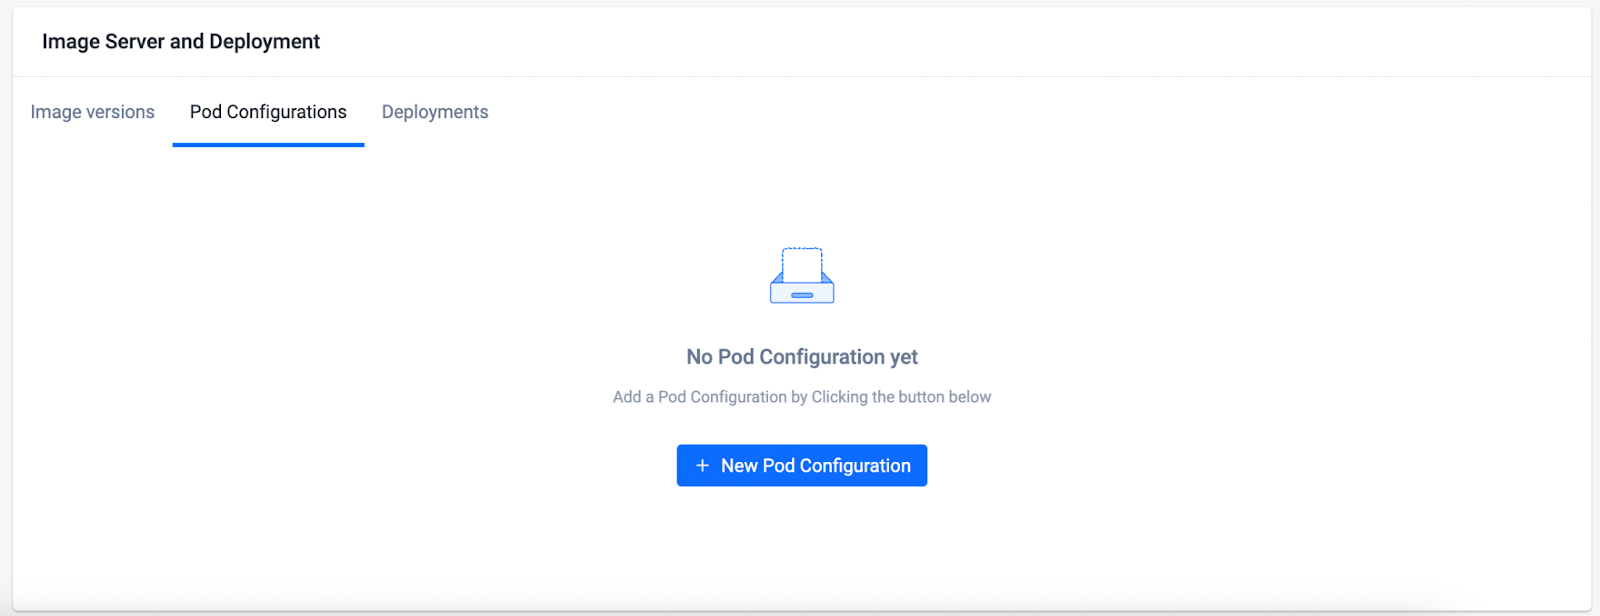
On the subsequent page, scroll down to the bottom and locate the Image Server and Deployment section. Click Pod Configurations tab in the menu bar, then click +New Pod Configuration” button.
Fill out the information required in the subsequent form:

- CPU Requirement (MHz): How much CPU is required to run your dedicated game server. This value is used as a suggestion for Armada to scale in and scale out virtual machines.
Best practiceFill in the peak CPU that your dedicated server will consume. This prevents any potential slow down of your dedicated server performance when multiple dedicated servers hit their peak load.
Memory Limit (MB): How much memory is required to run your dedicated server. If your dedicated server consumes more memory than it is allocated, it is considered Out of Memory (OOM), and will be shut down by Armada immediately.
Params (Optional): The parameters to pass onto your dedicated server when the executable is run.
Click the Create Configuration button to create your first pod configuration.
You can set up multiple ways to run the same dedicated servers by creating multiple pod configurations. To do so, click the +Add button.
Creating a regional deployment
Once you have specified how to configure one of your dedicated servers, Armada has enough information to handle multiple servers.
A deployment uses one single dedicated server image and one single pod configuration to spawn a fleet of dedicated servers that run over multiple regions.
Follow the steps below to create a deployment:
Click the Configuration button that is located under Dedicated Server Management on the side menu bar.
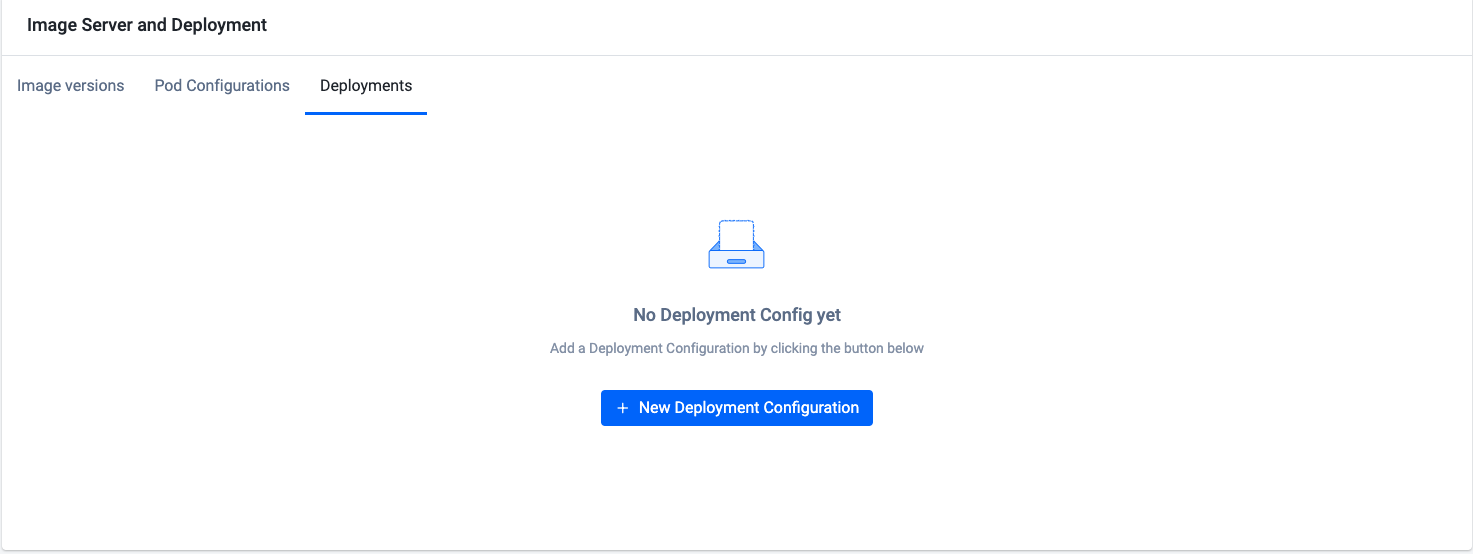
On the subsequent page, scroll down to the bottom and locate the Image Server and Deployment section. Click Deployments in the menu bar, then click the +New Deployment Configuration button.
On the subsequent creation wizard screen, give the deployment a meaningful name. Optionally, you can give different timeout values for all dedicated servers that are managed by the deployment. These timeout values will overwrite the default session timeout values, defined in the Armada configuration.
 note
noteThe first deployment will be named default. You cannot change the name for this deployment nor its regional configuration.
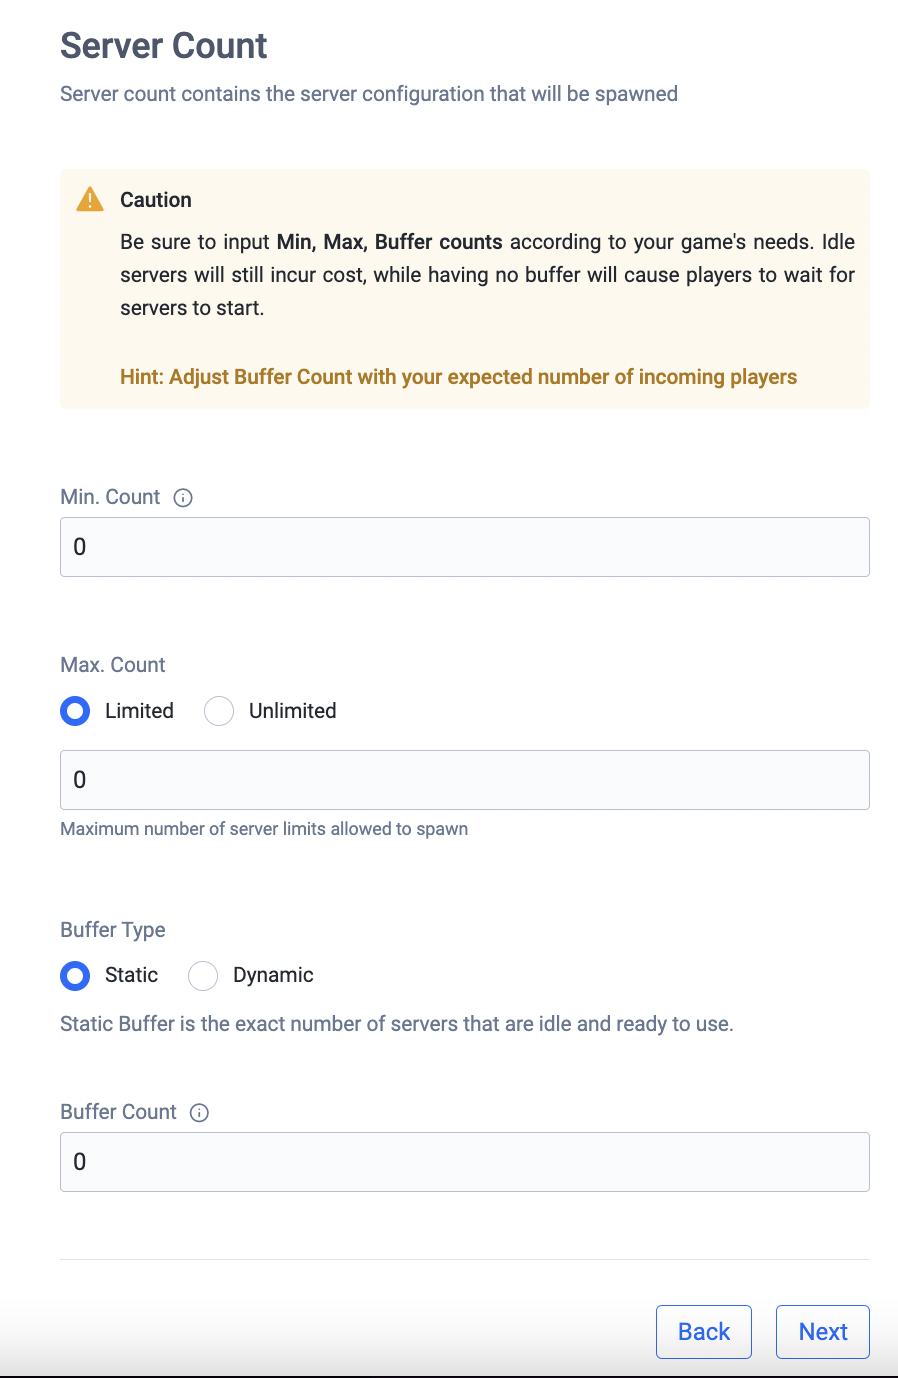
Set the scaling behavior of this deployment:
- Min. Count: The minimum number of servers that the deployment needs to maintain, regardless of whether the servers are in the Ready (warmed buffer) or Busy (serving a game session) state. This value is useful to handle the baseline concurrent users by ensuring that there are enough servers ready to go.
- Max. Count: The maximum number of servers that the deployment can maintain. This value is useful as a limiter to make sure the cost of game servers will not go over budget. Alternatively, if budget is of no concern, you can set Max. Count to unlimited.
- Buffer type: The type of buffer technique that the deployment will use:
- The static buffer maintains an exact number of servers as warmed buffers.
- The dynamic buffer maintains a percentage of Busy servers as warmed buffers rounded down to the nearest whole number. For example, with a dynamic buffer of 10%, Armada will spin up 2 servers as warmed buffers when the number of Busy servers reaches 20.
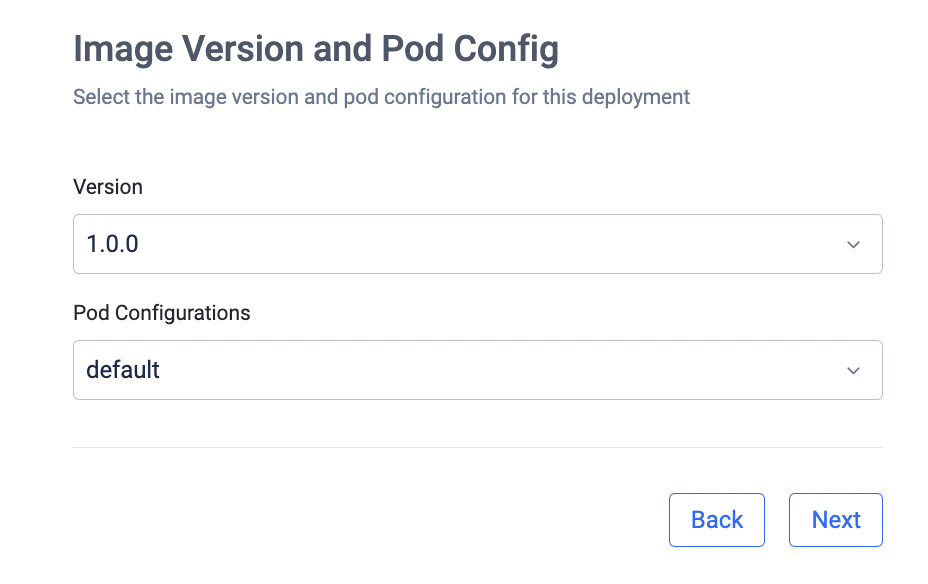
Choose a version of a dedicated server image and a pod configuration:
Pick a region for your dedicated servers to run:
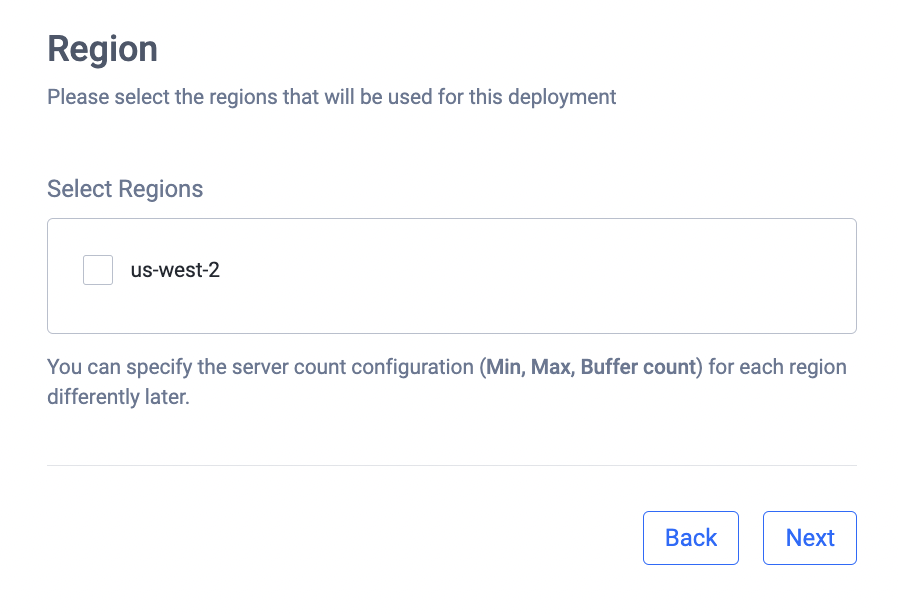 note
notePlease contact your development partner manager if your game needs to support additional regions.
Finally, review all the configurations that you have defined. If you are satisfied with the configurations, click the Create Deployment button.
That's it! Once you have created your deployment, Armada will start spinning up dedicated servers according to your deployment configurations.
Next steps
Refer to Monitoring and troubleshooting dedicated servers to verify if your fleets are maintained properly.