Configuring match pools
Overview
Match Pools represent a collection of match and backfill tickets submitted to the Matchmaking service, representing players that are seeking the same gameplay experience. As such, you should configure a pool for each Session Template that defines a Game Mode. Tickets in the pool will be evaluated against each other, using logic defined in the associated Match Ruleset and Match Function in order to find viable matches.
A Match Pool is a form of queue.
There are five primary components that define how the service should add tickets to the pool, and then further evaluate those tickets for viable matches.
- Session Template: defines the characteristics a session created using the template will exhibit. This includes joinability, what game server deployment to use and which regions it should attempt to deploy to.
- Match Ruleset: defines the rules that will be used during matchmaking, to evaluate tickets within the pool to identify viable matches.
- Match Function: defines custom functionality implemented outside the service, that can impact the evaluation process during matchmaking.
- Match Ticket Timeout: defines the amount of time a ticket can remain in evaluation, before it is marked as expired and removed from the pool.
- Backfill Ticket Timeout: similar to the match ticket timeout, but is defined for backfill tickets.
Keep in mind that the defined timeouts will impact the player experience during matchmaking, so be sure to carefully consider the duration you want players to wait in the pool, before you timeout their tickets.
In this guide, you will learn how to configure Match Pools through the Admin Portal, including how to assign the associated Session Template, Match Ruleset and Match Function.
Goals
After you complete this guide, you should have an understanding of the following:
- How the Matchmaking service uses match pools
- How to configure Match Pools in the Admin Portal
Prerequisites
Before you begin this guide, you should have the following:
- An understanding of the Lobby, Session and Matchmaking services
- Access to the Admin Portal and the Namespace for your game
Setup
In order to configure match pools for your game, there are several things you need to set up first:
- You will need to configure a Session Template, in the corresponding Namespace for your game, in the Admin Portal.
- You will need to configure a Match Ruleset, in the corresponding Namespace for your game, in the Admin Portal.
Configuring Match Pools in the Admin Portal
To configure a Match Pool, follow these steps in the Admin Portal. Be sure you are in the correct Game Namespace for your game project.
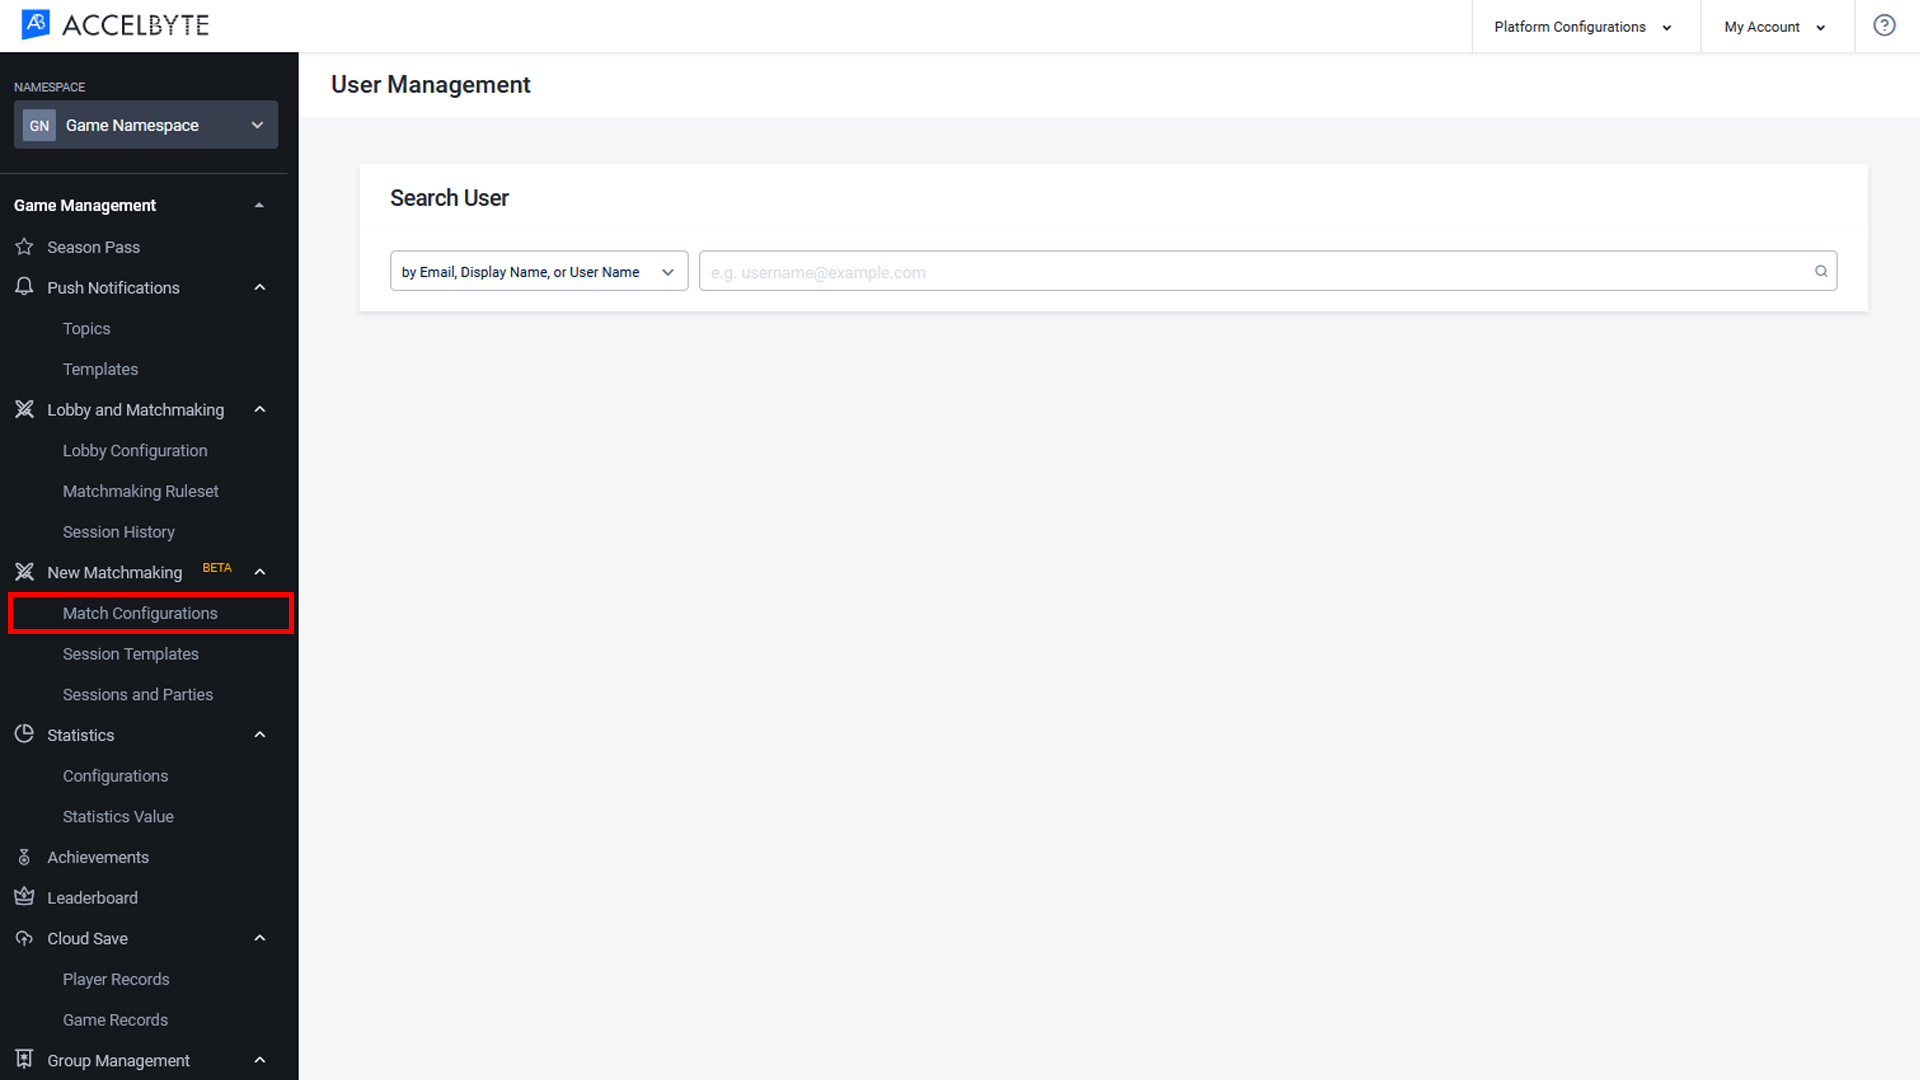
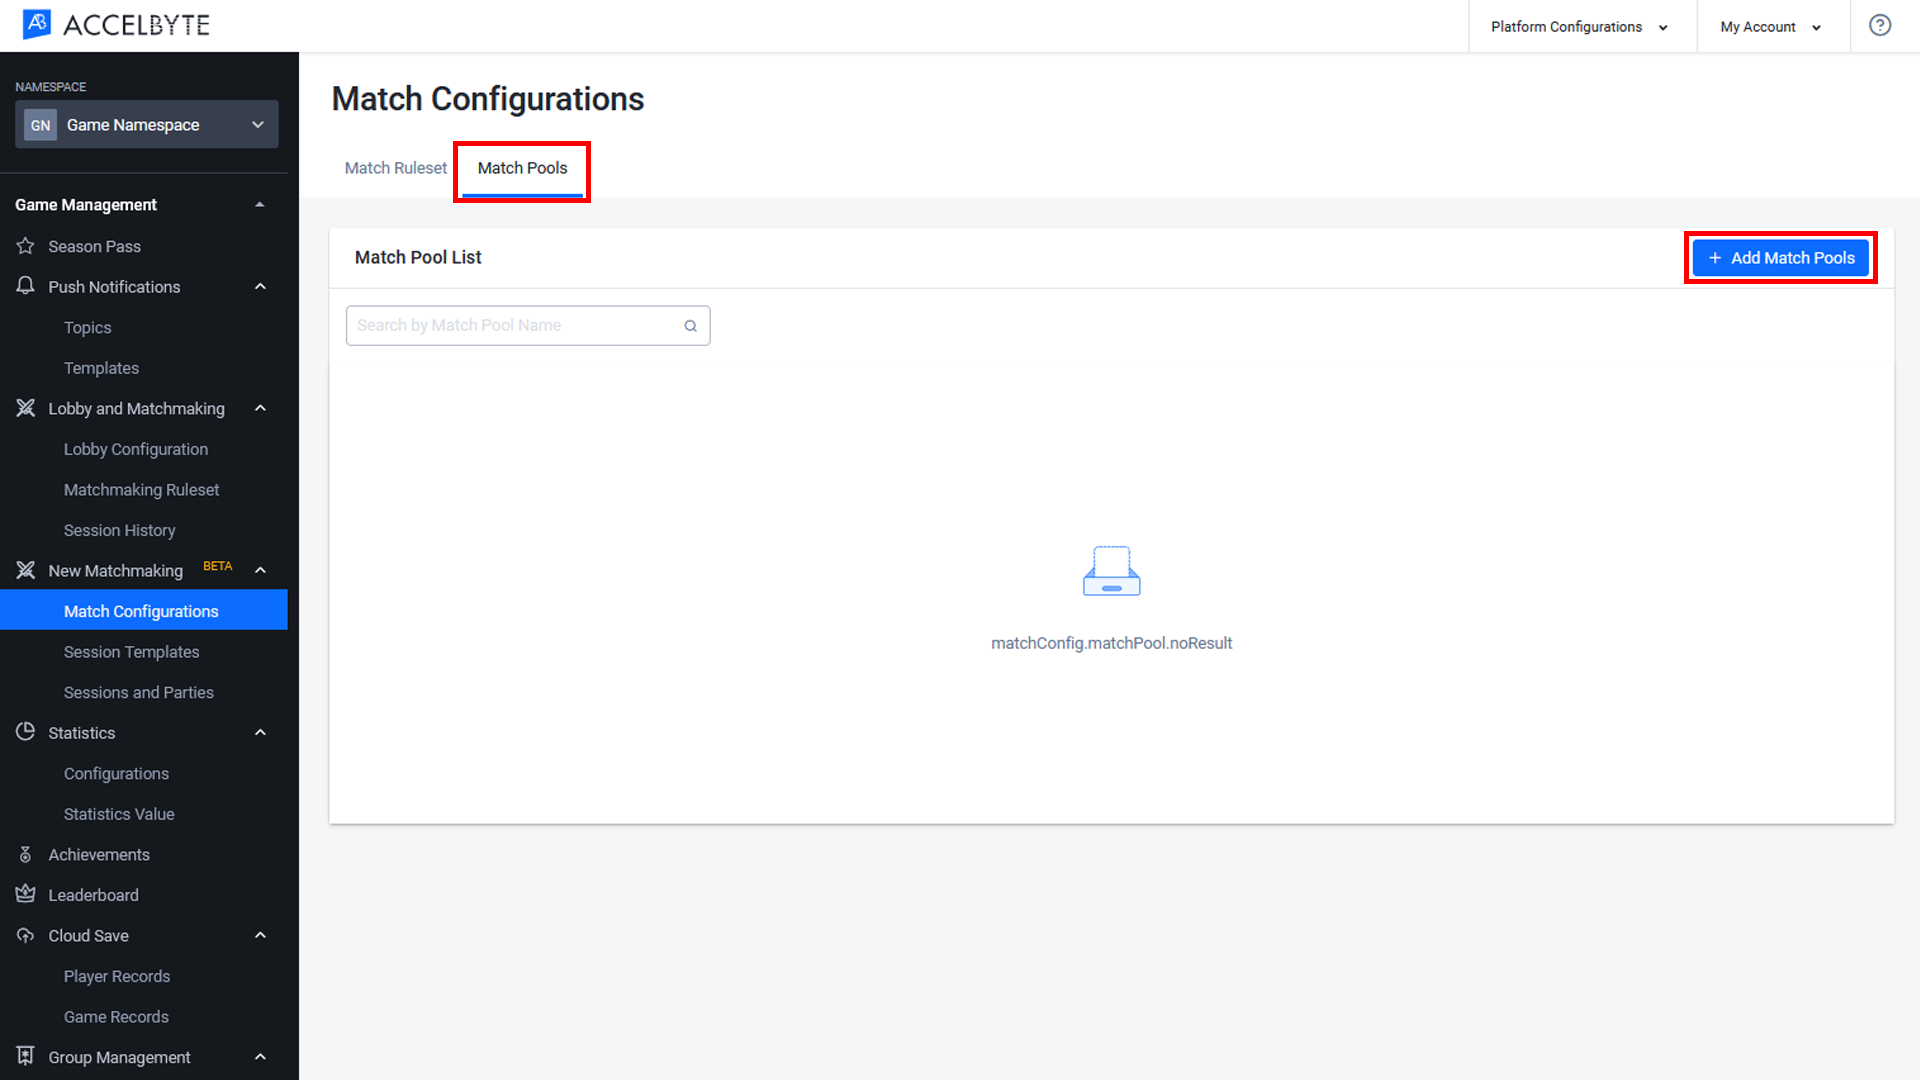
In the Admin Portal, select your desired namespace. In the left-hand menu, navigate to Game Management, click New Matchmaking, and select Match Configuration.
Select the Match Pools tab at the top of the page, and then click + Add Match Pools in the top right-hand corner.
The Add Match Pools form will appear. Fill in the following fields:
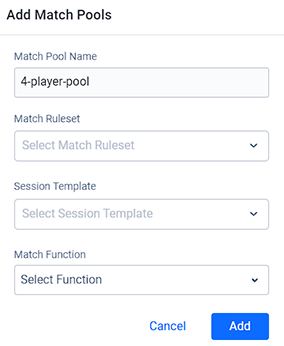
- Match Pool Name: enter a name for your match pool name.
- Match Ruleset: select a Match Ruleset from the dropdown menu.
- Session Template: select a Session Template from the dropdown menu.
- Match Function: select a Match Function from the dropdown menu. Typically you will want this set to default.
When you're finished, click Add to save your match pool.
Next Steps
Once you have configured a match pool for your game, you can begin to use it during matchmaking. Refer to the guide Integrating Matchmaking into the Game Client.